It’s cold, so why not point a Canon EOS R5 Mark II at Jupiter?
• 3 min read
A bit over two years ago, I tried taking a photo of Jupiter with a Canon EOS R mirrorless camera and RF 800mm F11 lens. After recently taking some photos of the moon, I thought it’s time for another go at capturing Jupiter with my current kit. Handily, it’s near 9 January – the date that Jupiter will be the closest to Earth for the year. With the skies being clear, I had a go at photographing Jupiter a bit in advance of that date.
My camera now is a Canon EOS R5 Mark II. Similar to my recent moon photos, I waited until Jupiter was high in the sky and took a series of 4-second bursts of RAW photos at 30fps using the electronic shutter and the Canon Camera Connect mobile app. I used a Canon RF 800mm F11 IS STM lens with an RF 1.4x Extender for a combined focal length of 1120mm. I tried a few different shutter speeds and ISO settings so that I could see if any setting combinations come out better. (The lens and extender combination means a fixed aperture of ƒ/16, so I couldn’t adjust that.)
Once I had my shots, I copied the RAW photos, in CR3 format, to my computer and used a custom script to organise them into folders. The script uses ExifTool (via the Node.js package exiftool-vendored) to extract the timestamp and shooting settings of each photo. It uses the timestamps to sort the photos into groups and then moves them into directories named according to the time of the first photo in the group and the shooting settings.
I then processed the RAW files using a Python script that uses LibRaw via the Python package rawpy. This is different from what I did two years ago, when I used Adobe Lightroom. To be honest, Lightroom worked well enough here when turning off the various bits of processing enabled by default. But using LibRaw allows you to eliminate any processing that you can’t turn off in Lightroom, and, more importantly for me, it’s far easier to automate.
The current version of rawpy doesn’t support the Canon EOS R5 Mark II, so I built the package myself with the latest Git version of LibRaw (which does support the R5 Mark II).
Here’s an example of a single photo from one of the bursts, slightly cleaned up and scaled to 300%:
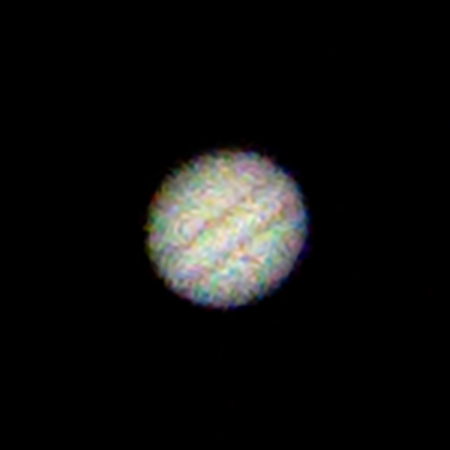
It’s Jupiter, but very noisy. That shot was taken at ISO 1000 with a shutter speed of 1/500 seconds. Only a touch of noise reduction has been applied to the image (you wouldn’t normally see so much chroma noise in Adobe Lightroom or Adobe Camera Raw).
After processing the RAW files, I stacked each burst of photos separately using AutoStakkert!. As it turned out, all the stacks looked fairly similar detail-wise. Still, I did have a favourite. Here it is, scaled to 300%:
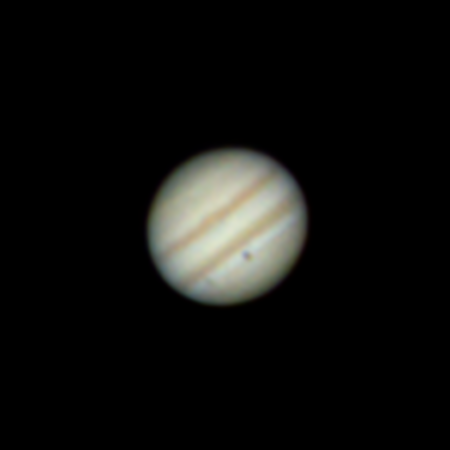
That’s already looking better than my 2023 effort. But there’s still one more step to go – wavelet sharpening using waveSharp. Here’s the sharpened version:
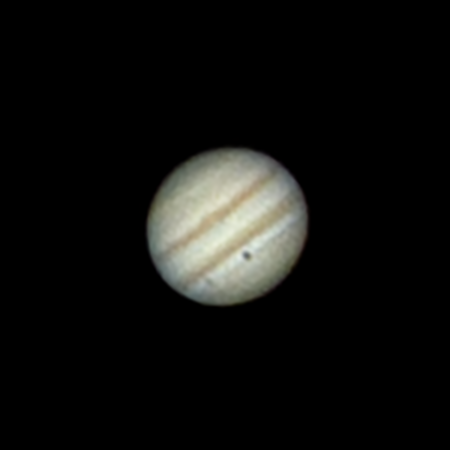
One of the reasons that I like this shot, taken on 30 December, is that you can see both Ganymede (Jupiter’s largest moon) and its shadow. (The smudge-like spot in the bottom-left of Jupiter is Ganymede, while the darker spot is its shadow.)
Note that RGB alignment is a problem here (I’m going to blame atmospheric dispersion for that), and I’ve aligned the red and blue channels of the above images to the green channel. Additionally, the images that come out of LibRaw are very neutral compared to what you might be used to in Adobe Lightroom or Adobe Camera Raw. I’ve applied a tone curve to the above images to get them looking more like what would be expected.
I’ve probably had enough of photographing Jupiter and our moon now. I’d like to try Saturn again, though it looks like I’ll be waiting until Autumn for a good opportunity.
Buy me a coffee